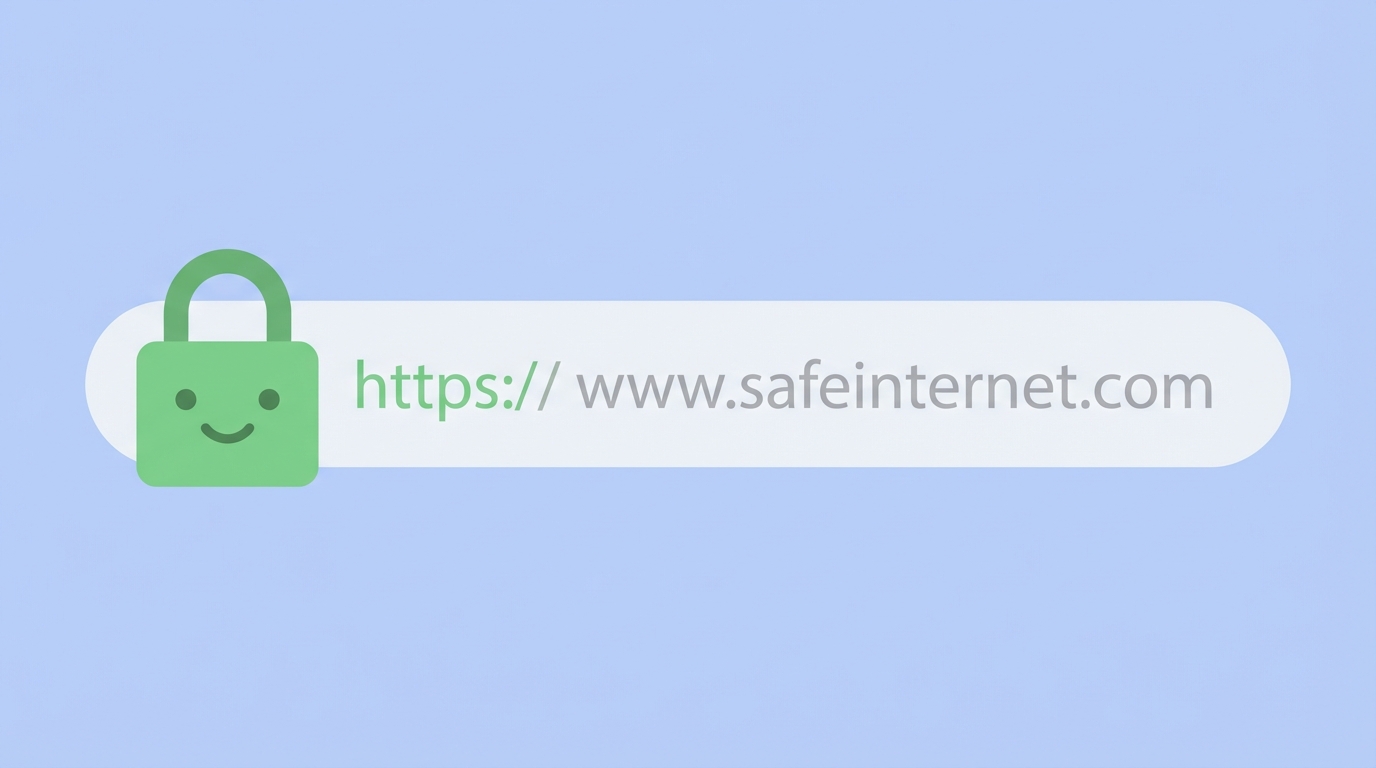
你是否注意到,现在的浏览器地址栏旁边都会有一个小锁图标?如果你的网站没有这个小锁,浏览器甚至会提示”不安全”?这是因为 HTTPS 已经成为现代网站的标准配置。
今天我们就来详细聊聊如何为你的网站部署 HTTPS,以及如何让证书自动续签,从此再也不用担心证书过期啦。
SSL/TLS 证书介绍 在开始之前,先了解一下 SSL/TLS 证书的基础知识。
什么是 SSL/TLS 证书?
SSL/TLS 证书是数字证书的一种,由可信的证书颁发机构(CA)签发,用于验证网站的身份并启用加密连接。
证书的类型
类型
价格
验证级别
适用场景
DV(域名验证)
免费
仅验证域名所有权
个人博客、小型网站
OV(组织验证)
中等
验证域名 + 组织身份
企业官网
EV(扩展验证)
昂贵
最严格的验证
金融机构、大型电商平台
对于个人博客和小型网站,DV 证书 就足够了。而我们今天要用的 Let’s Encrypt,就是提供免费 DV 证书的服务。
证书的组成
一个证书文件通常包含:
1
2
3
4
example.com/ ├── fullchain.pem # 完整证书链(证书 + 中间证书) ├── privkey.pem # 私钥(一定要保密!) └── chain.pem # 中间证书(可选)
Let’s Encrypt 免费证书 Let’s Encrypt 是一个非营利性的证书颁发机构,提供免费的 SSL/TLS 证书。它的优点:
完全免费 :零成本获得可信证书自动化 :使用工具可以一键申请和续签广泛支持 :被所有主流浏览器信任有效期 90 天 :需要定期续签(可以自动化)
使用 Certbot 申请证书 Certbot 是 Let’s Encrypt 官方推荐的客户端工具,使用简单方便。
安装 Certbot
1 2 3 4 5 6 7 8 9 10 sudo apt updatesudo apt install certbotsudo yum install epel-releasesudo yum install certbotbrew install certbot
申请证书(仅获取证书文件)
1 2 3 4 5 6 7 8 9 10 11 12 sudo certbot certonly --standalone -d example.comsudo certbot certonly --standalone \ -d example.com \ -d www.example.com sudo certbot certonly --standalone \ --email your@email.com \ -d example.com
--standalone 模式会临时启动一个 Web 服务器来验证域名,需要确保 80 端口没有被占用。
申请成功后的输出
1
2
3
4
5
Successfully received certificate. Certificate is saved at: /etc/letsencrypt/live/example.com/fullchain.pem Key is saved at: /etc/letsencrypt/live/example.com/privkey.pem This certificate expires on 2026-05-02. These files will be updated when the certificate renews next time.
证书文件的位置:
证书:/etc/letsencrypt/live/example.com/fullchain.pem
私钥:/etc/letsencrypt/live/example.com/privkey.pem
中间证书:/etc/letsencrypt/live/example.com/chain.pem
注意 :/etc/letsencrypt/live/ 下的文件是符号链接,实际文件在 /etc/letsencrypt/archive/。配置服务器时使用 live 下的路径,这样证书更新后无需修改配置。
Nginx/Apache 配置 HTTPS 证书申请完成后,我们需要配置 Web 服务器来使用它。
Nginx 配置
1
2
3
4
5
6
7
8
9
10
11
12
13
14
15
16
17
18
19
20
21
22
23
24
25
26
27
28
29
30
31
32
33
34
35
36
37
38
39
40
41
42
43
44
45
46
47
48
49
50
51
52
53
54
server { listen 443 ssl http2; server_name example.com www.example.com; ssl_certificate /etc/letsencrypt/live/example.com/fullchain.pem; ssl_certificate_key /etc/letsencrypt/live/example.com/privkey.pem; ssl_protocols TLSv1.2 TLSv1.3 ; ssl_ciphers ECDHE-ECDSA-AES128-GCM-SHA256:ECDHE-RSA-AES128-GCM-SHA256:ECDHE-ECDSA-AES256-GCM-SHA384:ECDHE-RSA-AES256-GCM-SHA384; ssl_prefer_server_ciphers off ; ssl_stapling on ; ssl_stapling_verify on ; ssl_trusted_certificate /etc/letsencrypt/live/example.com/chain.pem; ssl_session_cache shared:SSL:10m ; ssl_session_timeout 10m ; ssl_session_tickets off ; add_header Strict-Transport-Security "max-age=31536000; includeSubDomains" always; add_header X-Frame-Options "SAMEORIGIN" always; add_header X-Content-Type-Options "nosniff" always; root /var/www/html; index index.html; location / { try_files $uri $uri / =404 ; } } server { listen 80 ; server_name example.com www.example.com; location /.well-known/acme-challenge/ { root /var/www/html; } location / { return 301 https://$server_name $request_uri ; } }
配置说明
listen 443 ssl http2:监听 443 端口并启用 SSL 和 HTTP/2ssl_certificate 和 ssl_certificate_key:证书和私钥的路径ssl_protocols:只使用 TLS 1.2 和 1.3(更安全)add_header Strict-Transport-Security:告诉浏览器只使用 HTTPS 访问
配置完成后,测试并重启 Nginx:
1 2 3 4 5 6 7 8 sudo nginx -tsudo systemctl restart nginxsudo systemctl status nginx
Apache 配置
如果你使用的是 Apache,配置如下:
1
2
3
4
5
6
7
8
9
10
11
12
13
14
15
16
17
18
19
20
21
22
23
24
25
26
27
28
29
30
31
32
33
34
35
36
37
38
<VirtualHost *:443 > ServerName example.com ServerAlias www.example.com SSLEngine on SSLCertificateFile /etc/letsencrypt/live/example.com/cert.pem SSLCertificateKeyFile /etc/letsencrypt/live/example.com/privkey.pem SSLCertificateChainFile /etc/letsencrypt/live/example.com/chain.pem SSLProtocol all -SSLv2 -SSLv3 -TLSv1 -TLSv1.1 DocumentRoot /var/www/html <Directory /var/www/html> Options Indexes FollowSymLinks AllowOverride All Require all granted </Directory> </VirtualHost> <VirtualHost *:80 > ServerName example.com ServerAlias www.example.com <Directory /.well-known/acme-challenge> Require all granted </Directory> Redirect permanent / https://example.com/ </VirtualHost>
启用 SSL 模块并重启 Apache:
1 2 3 4 5 6 7 8 9 sudo a2enmod sslsudo a2enmod headerssudo a2ensite default-ssl.confsudo systemctl restart apache2
证书自动续签 Let’s Encrypt 的证书有效期为 90 天,需要定期续签。Certbot 提供了自动续签功能。
手动测试续签
1 2 3 4 5 sudo certbot renew --dry-runsudo certbot renew
设置自动续签(cron)
创建一个 cron 任务来定期检查并续签证书:
1 2 3 4 5 sudo crontab -e0 2,14 * * * certbot renew --quiet --post-hook "systemctl reload nginx"
或者使用 systemd timer(推荐用于现代 Linux 发行版):
1 2 3 4 5 6 7 8 9 10 sudo systemctl status certbot.timersudo systemctl enable certbot.timersudo systemctl start certbot.timersudo systemctl list-timers | grep certbot
续签钩子(Hook)
在证书续签前后执行特定命令:
1 2 3 4 5 6 7 8 9 sudo certbot renew --quiet --post-hook "systemctl restart nginx" sudo certbot renew --quiet --pre-hook "systemctl stop nginx" \ --post-hook "systemctl start nginx" sudo certbot renew --quiet --deploy-hook "/path/to/script.sh"
续签日志
查看续签日志:
1 2 3 4 5 sudo cat /var/log/letsencrypt/letsencrypt.logsudo journalctl -u certbot -n 50
常见问题排查 问题 1:80 端口被占用
1 2 3 4 5 6 7 The program nginx (or apache) is already listening on port 80. sudo certbot certonly --webroot \ -w /var/www/html \ -d example.com
--webroot 模式会在网站根目录创建验证文件,不需要停止 Web 服务器。
问题 2:DNS 解析问题
1 2 3 4 5 6 7 8 Failed to connect to host for DVSNI challenge nslookup example.com dig example.com
问题 3:证书申请频率限制
Let’s Encrypt 有频率限制:
每个域名每周最多申请 5 个证书
每个账号每 3 小时最多失败 5 次
如果遇到限制,可以使用 Let’s Debug 诊断问题。
问题 4:证书链不完整
某些老旧客户端可能无法识别证书链,确保使用 fullchain.pem 而不是 cert.pem:
1 2 3 ssl_certificate /etc/letsencrypt/live/example.com/fullchain.pem;ssl_certificate_key /etc/letsencrypt/live/example.com/privkey.pem;
问题 5:混合内容警告
当 HTTPS 页面包含 HTTP 资源时,浏览器会显示警告:
1 2 3 4 5 6 7 <script src ="http://example.com/script.js" > </script > <img src ="http://example.com/image.jpg" /> <script src ="https://example.com/script.js" > </script > <img src ="//example.com/image.jpg" />
高级配置 通配符证书
使用 DNS 验证申请通配符证书(覆盖所有子域名):
1 2 3 4 5 6 sudo certbot certonly --manual --preferred-challenges dns \ -d "*.example.com" -d "example.com"
DNS 验证自动化
使用 Cloudflare 等服务商的 API 自动完成 DNS 验证:
1 2 3 4 5 6 7 8 9 10 11 12 13 14 15 sudo apt install python3-certbot-dns-cloudflaresudo nano /etc/letsencrypt/secrets.inisudo chmod 600 /etc/letsencrypt/secrets.inisudo certbot certonly --dns-cloudflare \ --dns-cloudflare-credentials /etc/letsencrypt/secrets.ini \ -d "*.example.com" -d "example.com"
总结 为网站启用 HTTPS 是现代 Web 开发的基础要求,它能带来:
数据加密 :保护用户数据不被窃听身份验证 :证明网站的真实身份SEO 加成 :搜索引擎更青睐 HTTPS 网站用户信任 :浏览器显示小锁图标,增加可信度现代功能 :一些 API(如 Service Workers、Geolocation)只在 HTTPS 下可用
关键步骤回顾:
安装 Certbot :sudo apt install certbot申请证书 :sudo certbot certonly --standalone -d example.com配置服务器 :Nginx/Apache 配置 SSL 证书路径启用 HTTPS :重启 Web 服务器自动续签 :设置 cron 或 systemd timer
检查清单:
记住,免费的 Let’s Encrypt 证书 + 自动续签 = 零成本维护 HTTPS。再也没有借口让你的网站”不安全”了!